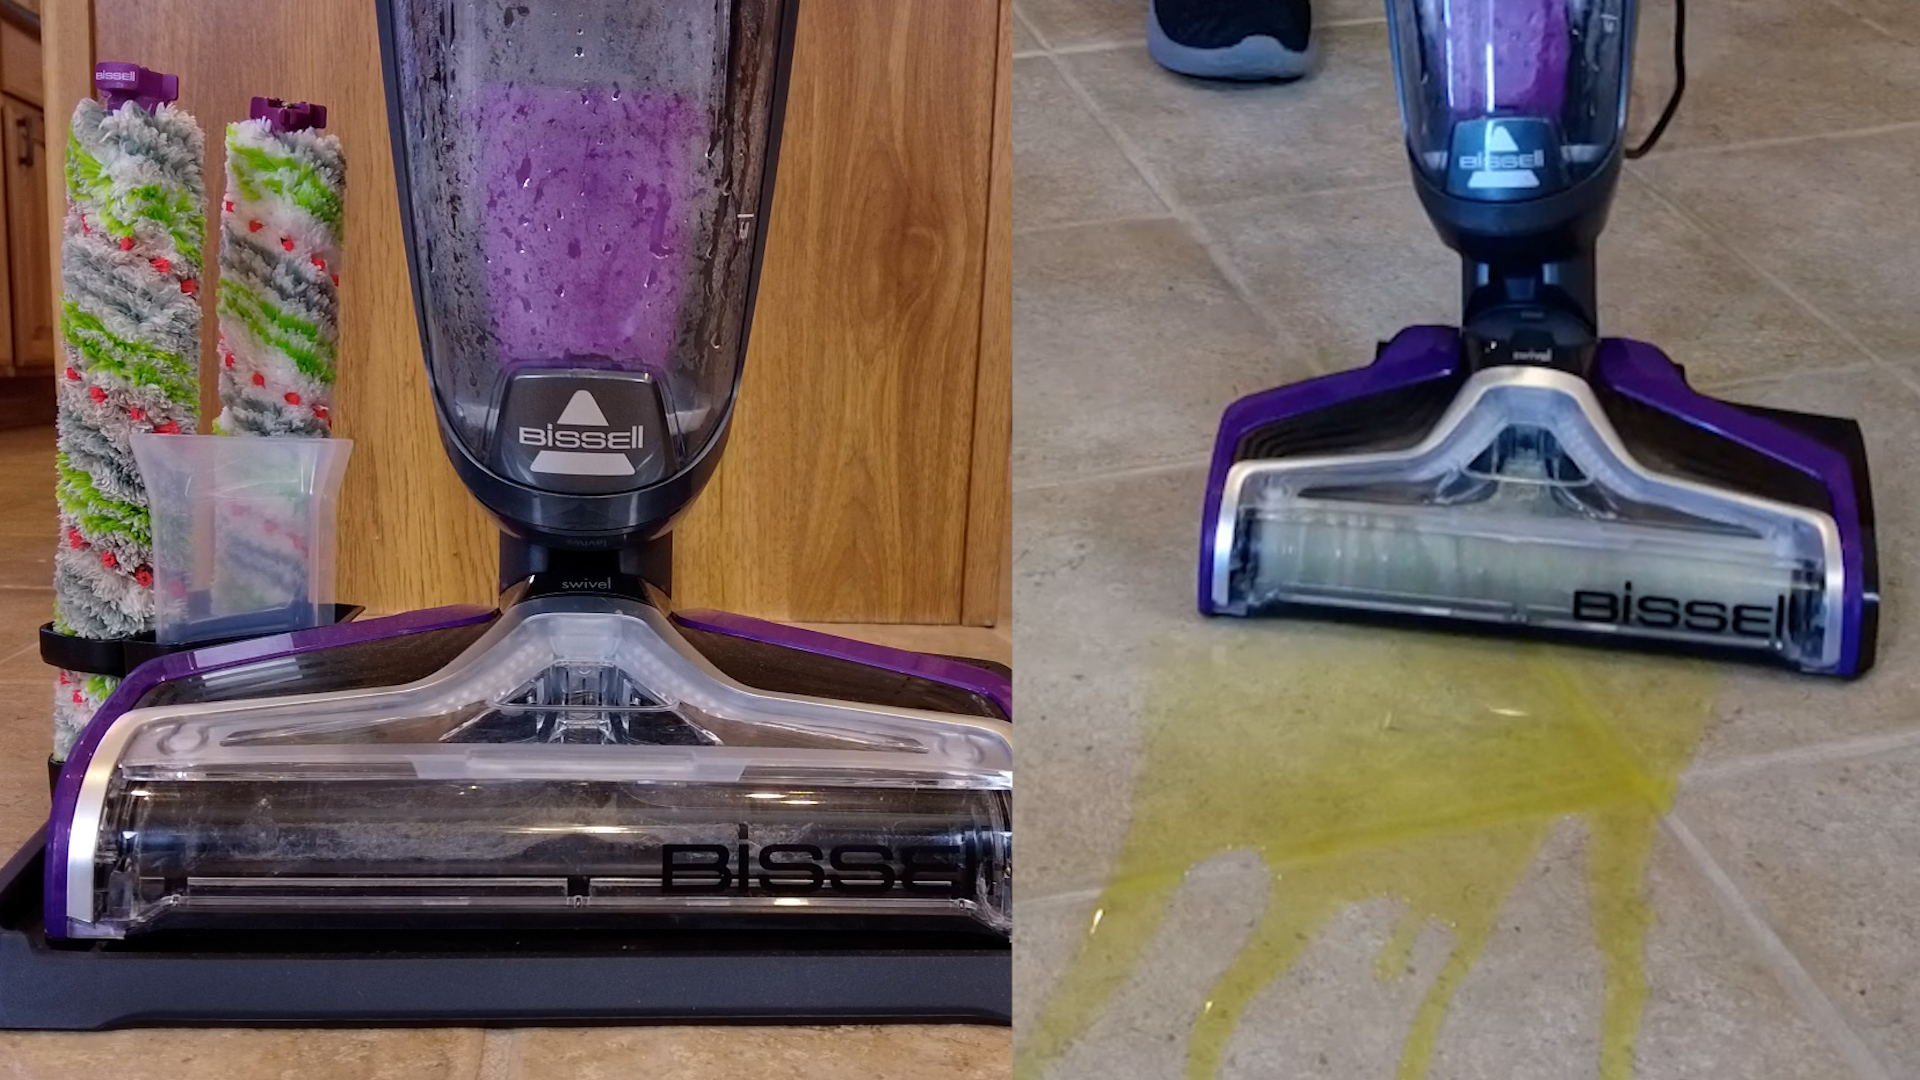
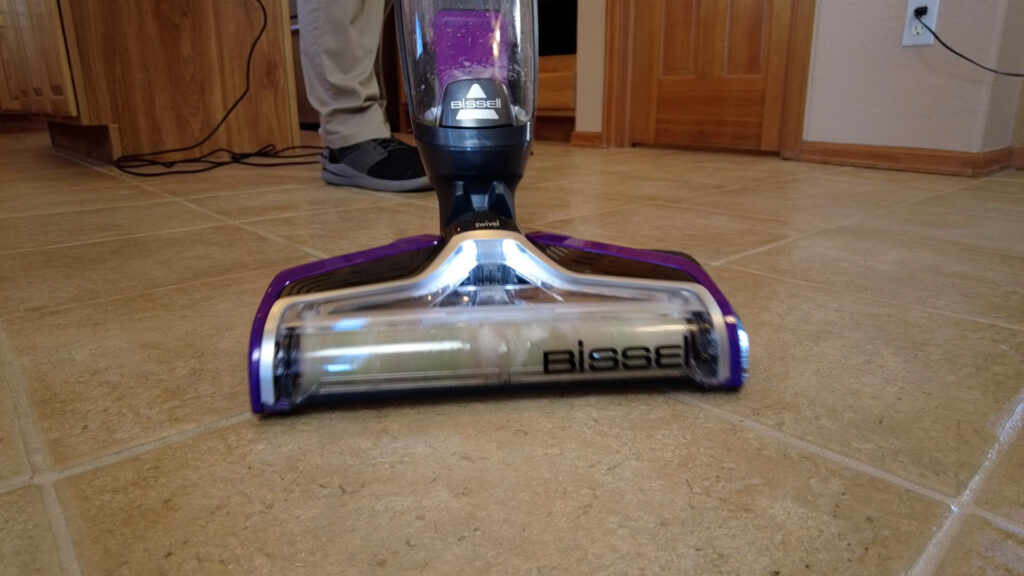
The Bissell Crosswave Pet Pro Multi-Surface Cleaner is a powerful cleaner that can wash and vacuum dry or wet surfaces, specifically designed to remove pet hair, dirt, dust, spills, big messes and more. This machine can effectively clean area rugs, tiles, wooden floors, laminate, vinyl and more. With improved edge cleaning and fingertip controls cleaning spills and accidents are a breeze.
The Bissell Crosswave Pet Pro comes in 2 versions – corded and cordless, with the only difference being the power source.
You can find the machine in stores and online. As an Amazon Associate I may earn from qualified purchases.

Parts of the Machine:
- Power Buttons – The Bissell Crosswave Pet Pro has 2 power buttons on the handle, Hard Floor and Area Rug
- Handle Trigger – Used to dispense cleaning solution to the brush
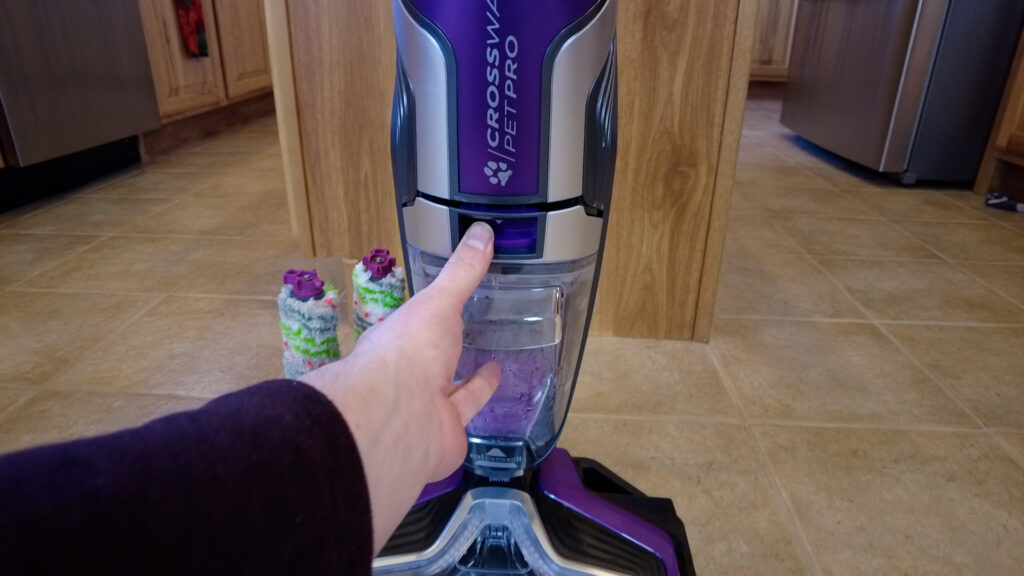
- Dirty Water Reservoir – Found in front of the machine, where the dirty water and all other debris from cleaning is collected
- Water and Solution Reservoir – Found in the back of the machine, for water and cleaning solutions
- Brush Bristles – Every machine comes with 2 bristles that are exactly the same
- Measuring Cup – Can be used to fill up your water reservoir with the right mixture of water and different cleaning solutions
Preparing your Bissell Crosswave Pet Pro for Use
Preparing to use your Bissell Crosswave Pet Pro is quite easy. Here’s a quick guide on how to start using your new multi-surface cleaner:
Installing the Brush


- On the front of the machine, pull the cover off from the top where it says pull
- Take one of the brushes and match the ends with the plus sign with the component inside the machine
- Slide the bristle head in place
- On the left side, rotate the plastic piece up to where the Bissell logo is facing upward and press it down to lock it in
- Line up the front cover and place it back in
After getting your brush ready, it’s time to fill up the back reservoir with water and the cleaning solution of your choice.
Filling Up the Water Reservoir
The water reservoir has 2 lines to indicate fill levels. You can fill it up with as much as you need for the surfaces you’re going to clean.
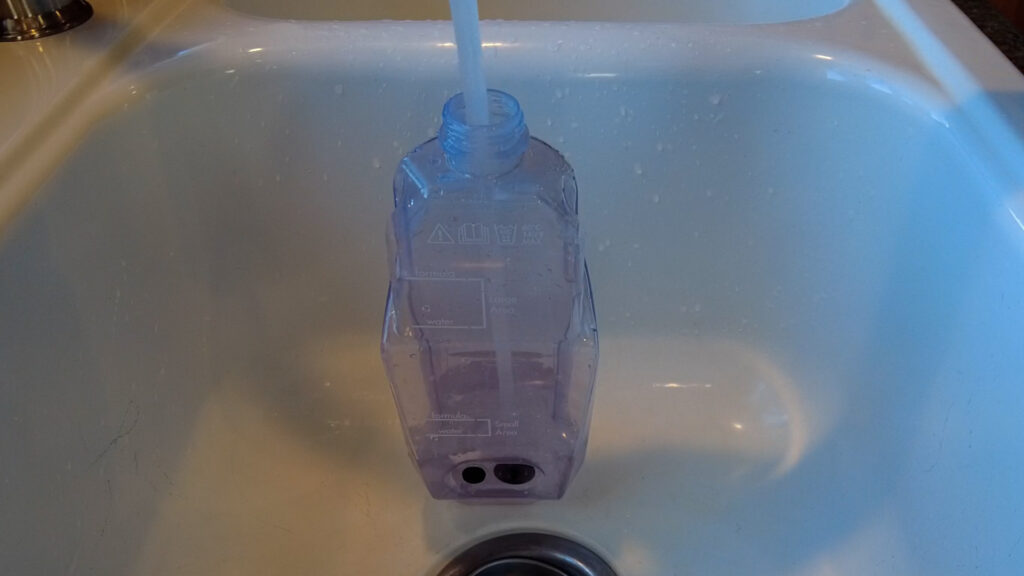
- Unscrew the top of the water reservoir to open it up
- Use the measuring cup to fill the water reservoir with water
- Add your cleaning solution and screw the cover back on top
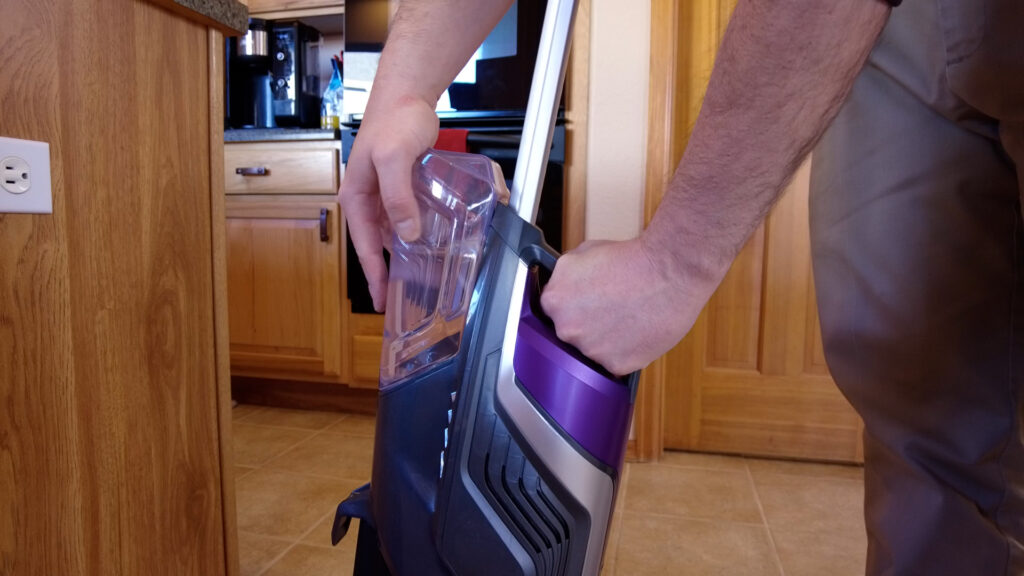
- Re-attach the reservoir to the back of the machine
Once the bristles are attached and the cleaning solution is ready, your Bissell Crosswave Pet Pro is ready to use.
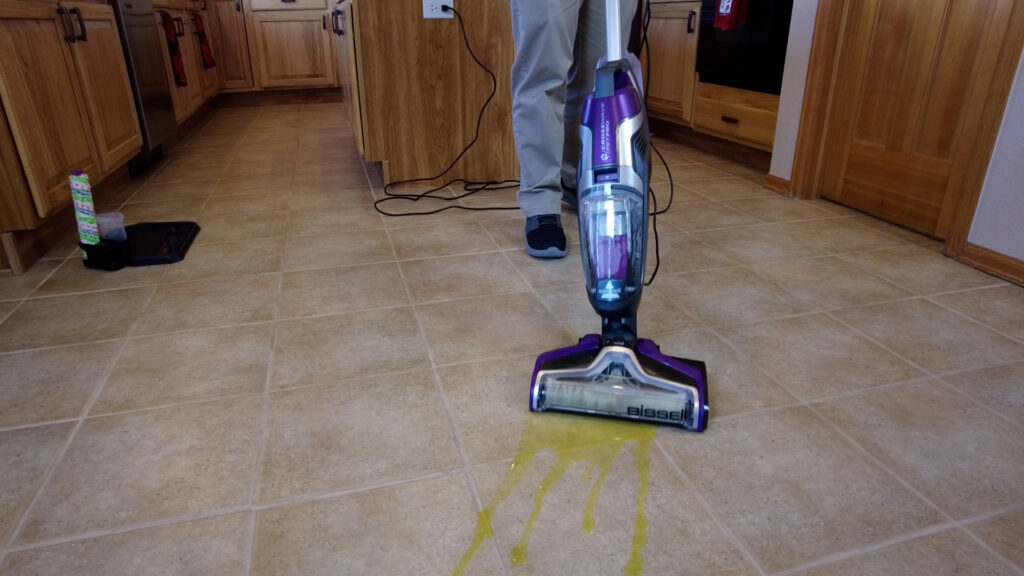
How to Use the Bissell Crosswave Pet Pro
- Choose the right power button on the handle for the type of surface you’re going to clean – Hard Floor or Area Rug
- Pressing the power buttons will turn the machine on vacuum mode, so you can clean any dry debris on your floors
- For wet surfaces, press the trigger on the handle to dispense cleaning solution on the brush
The front of the machine has a light indicator to show when the cleaning solution is being dispensed. This cleaning solution is only dispensed on the brush, not on the floor.
After using the Bissell Crosswave Pet Pro, it’s time to clean the machine.
Cleaning the Bissell Crosswave Pet Pro
Replacing the brush
- Remove the front cover of the machine to release the brush
- Rotate the plastic purple tab on the left side of the brush to dislodge and remove
- Refer to directions above on installing the brush. Reverse the steps
Cleaning the Front Water Reservoir
- Press the purple button to detach the water reservoir found in front of the machine
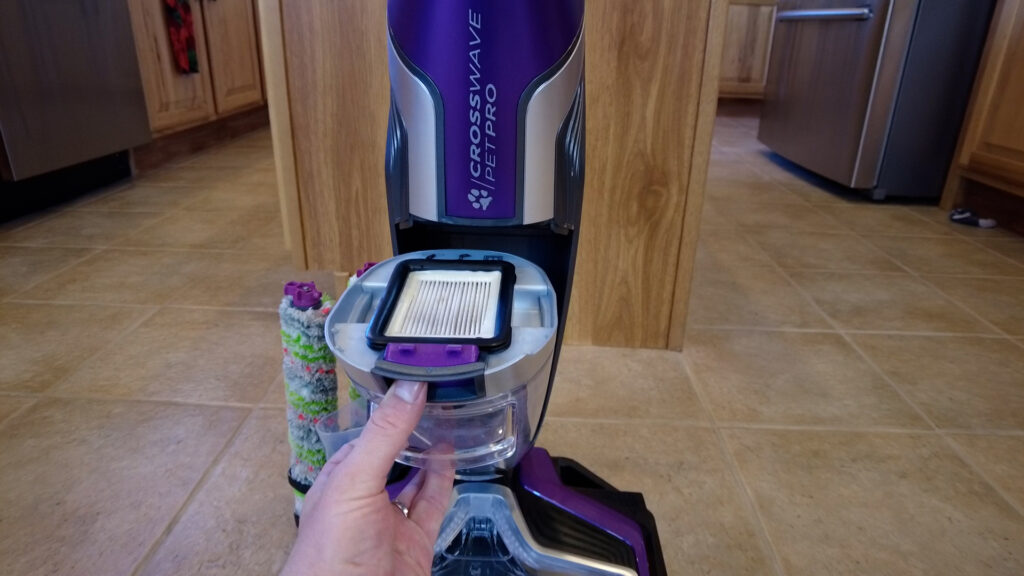
- Lift the small filter on top to remove any dirt and debris it caught
- Remove the bigger plastic piece to access the second filter inside the water reservoir
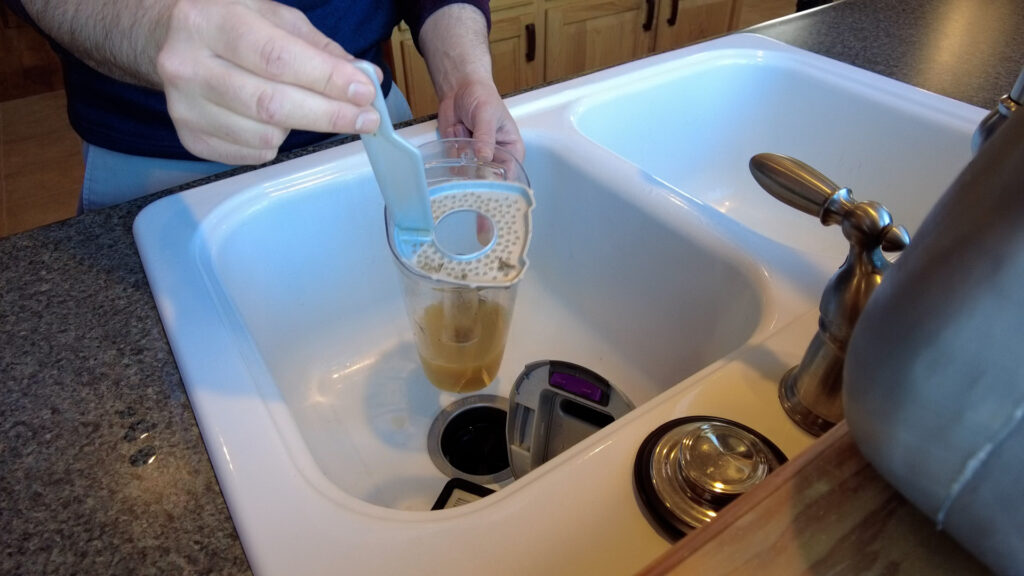
- Pull the next filter and clean out any other dirt accumulated inside
- Wash the water reservoir and prepare it for the next use

Cleaning the Back Water Reservoir
- Remove the water reservoir from the machine
- Unscrew the top and empty the water reservoir
- Clean out and dry the water reservoir
- Screw the cover back on and reattach to the machine
That’s it!
If you found this helpful please feel free to check out this tutorial on the Bissell Green Machine: