Are you looking to revamp an old piece of laminate furniture? In this tutorial, I’ll guide you through the process of using Klean Strip Liquid Sandpaper to prep the surface for painting. Let’s transform that worn-out piece into a stylish addition to your home!
Check out the video here:
Tools and Materials:
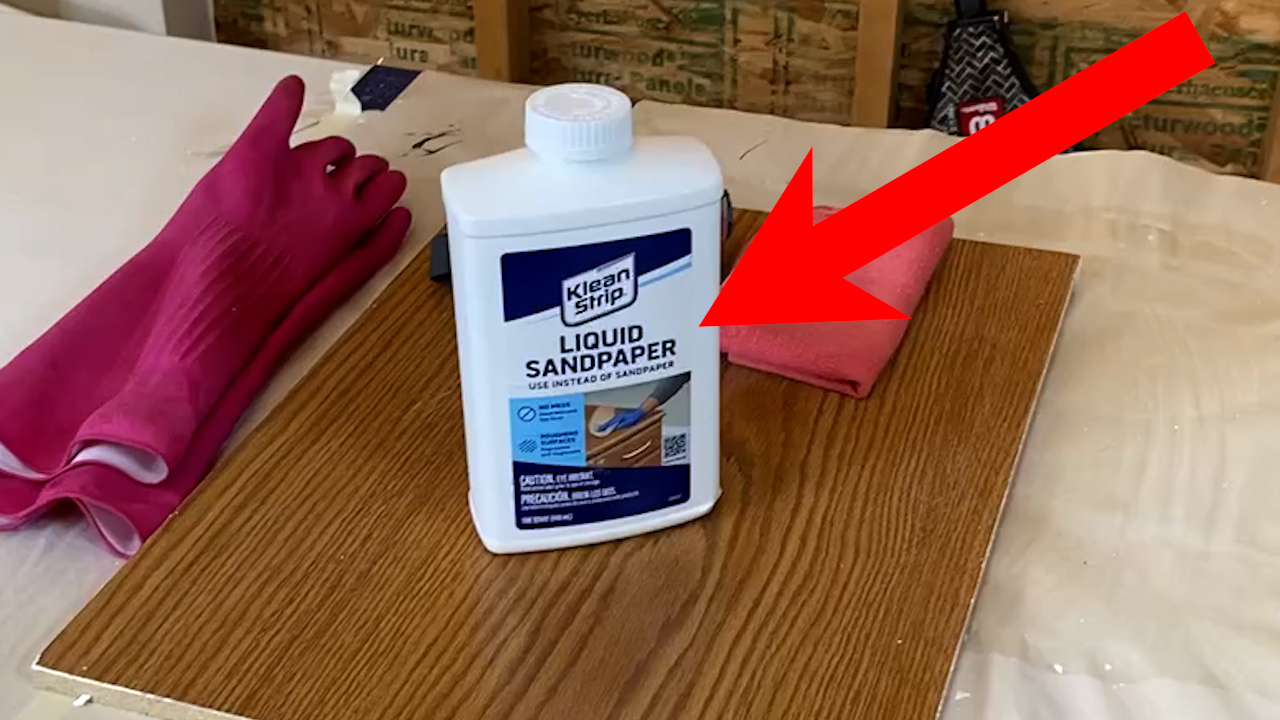
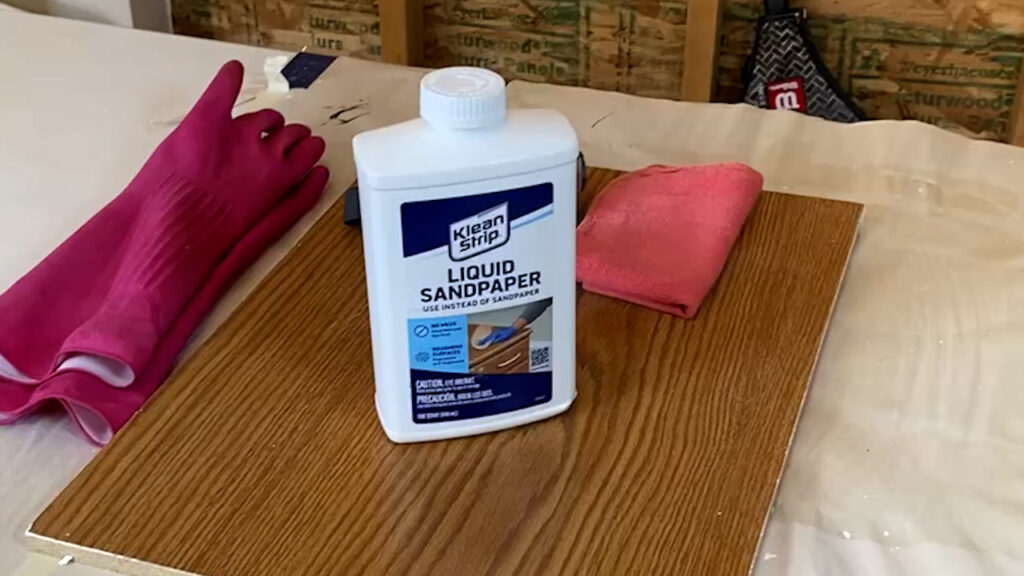
- Klean Strip Liquid Sandpaper
- Safety goggles
- Lint-free towel
- Gloves
- Paint (Valspar cabinet and furniture paint used in this example)
Step 1: Safety First
Before diving into the project, ensure you’re equipped with the necessary safety gear. Put on your gloves and safety goggles to protect your hands and eyes during the process.
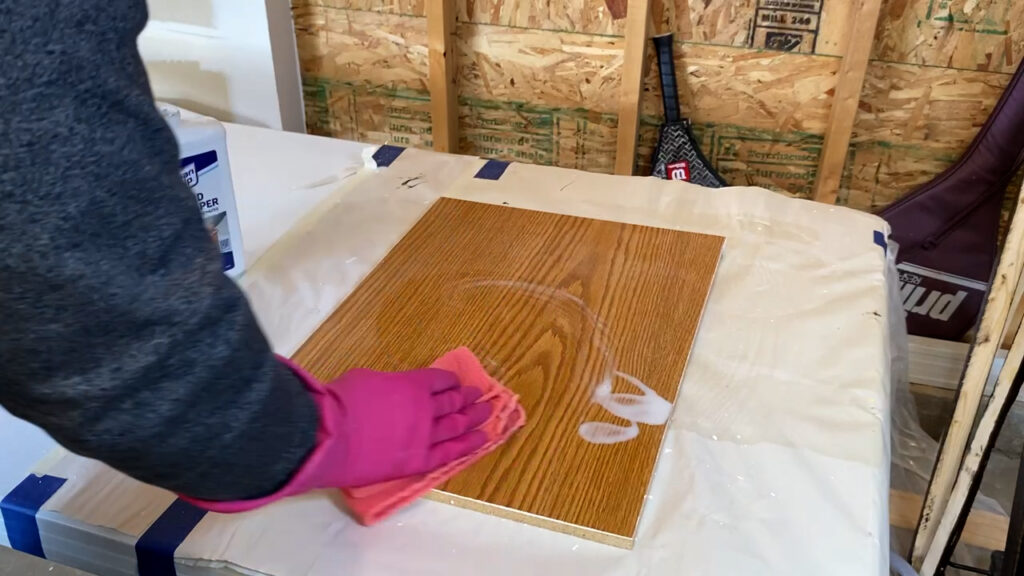
Step 2: Applying Clean Strip Liquid Sandpaper
- Shake the Klean Strip Liquid Sandpaper well.
- According to the directions, apply it to a lint-free towel or cloth.
- Apply the liquid sandpaper in a circular motion, ensuring liberal coverage.
- The product should saturate the surface adequately.
The product has a slight odor but is generally tolerable, especially in well-ventilated areas.
Step 3: Drying Time
Allow the applied Klean Strip Liquid Sandpaper to dry completely. This usually takes around 10-15 minutes.
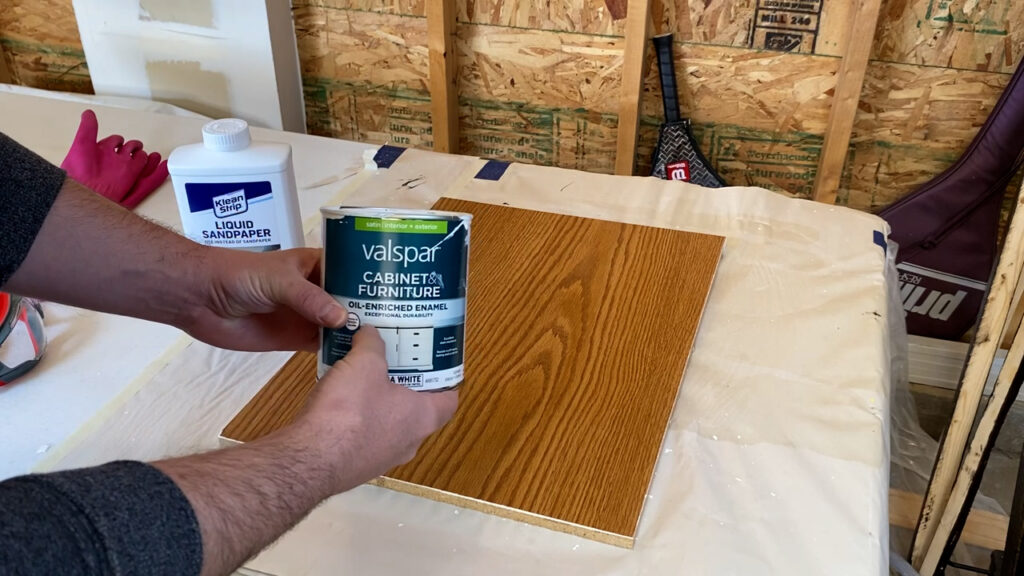
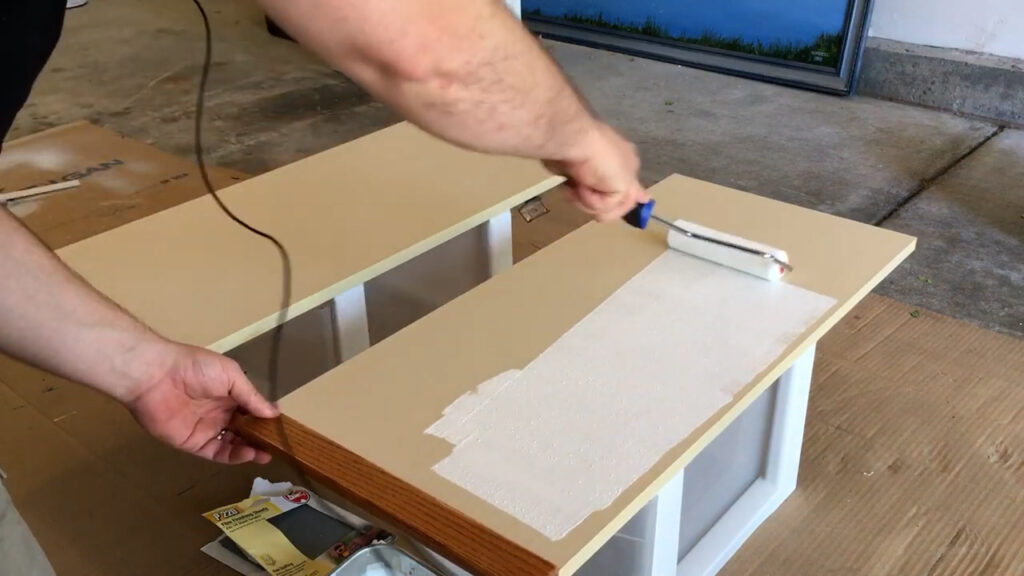
Step 4: Applying Paint
With the surface prepped, it’s time to apply your chosen paint. In this example, Valspar cabinet and furniture paint, an oil-enriched enamel, is used.
- Apply a coat of paint evenly across the surface.
- Allow it to dry completely before applying additional coats if needed.

Testing and Future Updates
After the second coat of paint, the piece is ready for testing. I plan to compare its durability with other painted laminates over time. Consider subscribing or checking back for updates on the long-term performance of Clean Strip Liquid Sandpaper.
And there you have it! You’ve successfully used Clean Strip Liquid Sandpaper to prepare laminate furniture for painting. This DIY project is a fantastic way to breathe new life into old pieces and personalize your living space.
For more information about paining laminate check out: How to paint laminate cabinets.
If you enjoyed this DIY tutorial, feel free to like and subscribe for more home improvement tips. I’m Drew, and I’ll catch you in the next one!