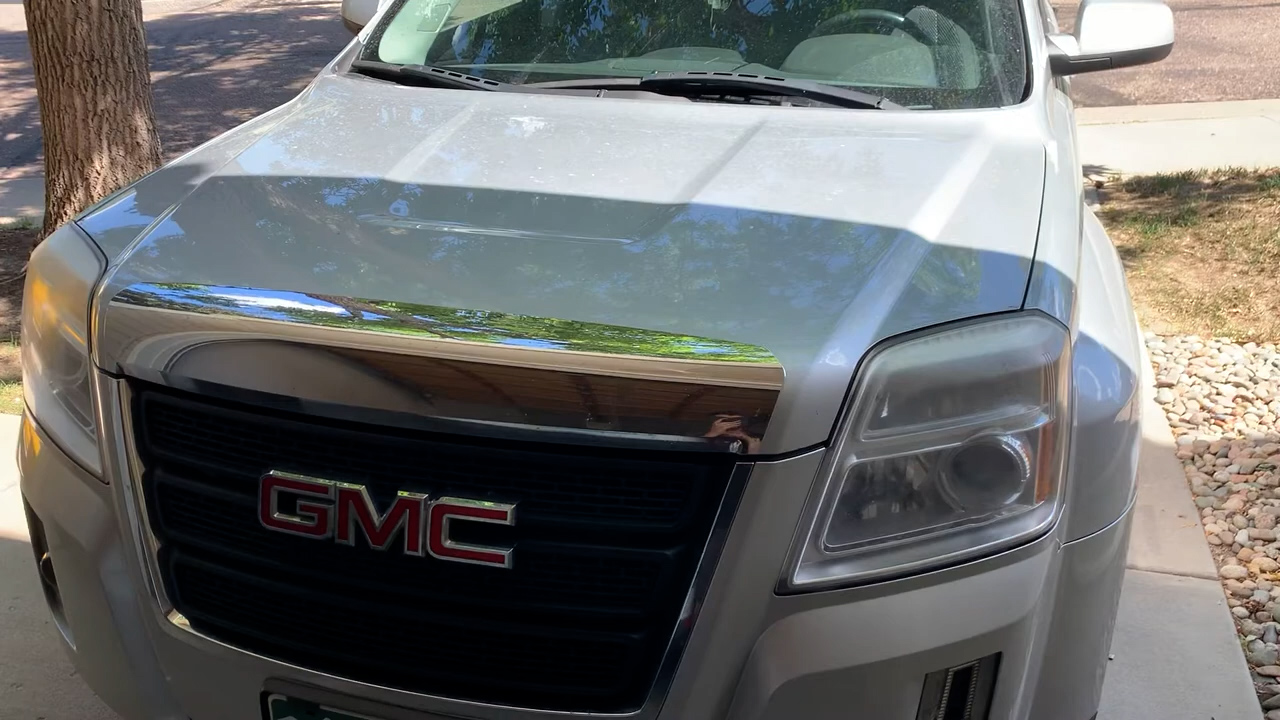
Here you will find step by step directions on how to change the headlight on a GMC Terrain. You can also watch the video here:
Remove the cover to change the headlight on GMC Terrain
First you want to look behind the wheel well and find the access cover.
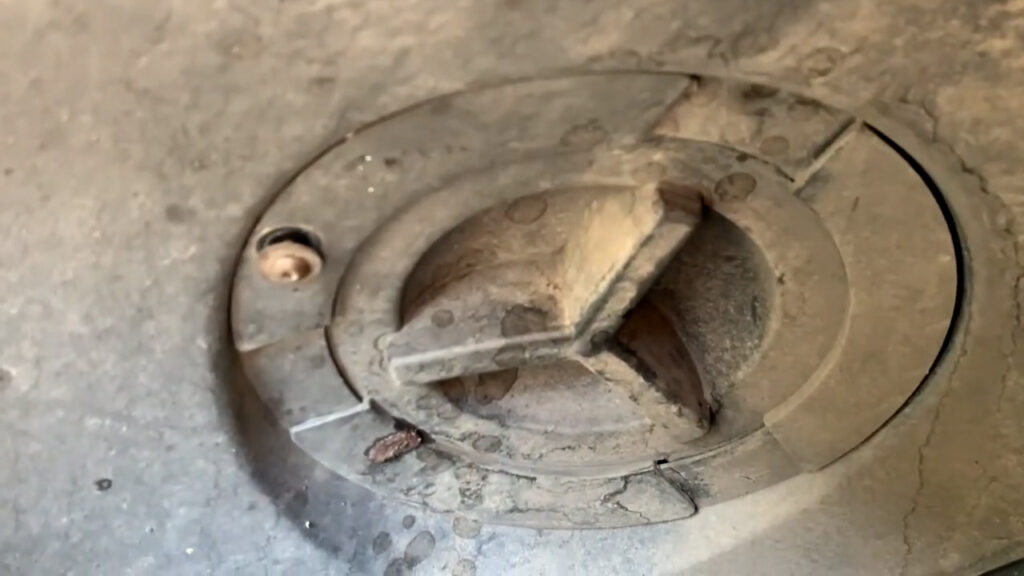
The cover is a circle piece of plastic held in place with a single screw. You will need an Allen wrench to remove the screw.
Once you remove the screw the cover can be taken off by turning it slightly in a counter clockwise direction.
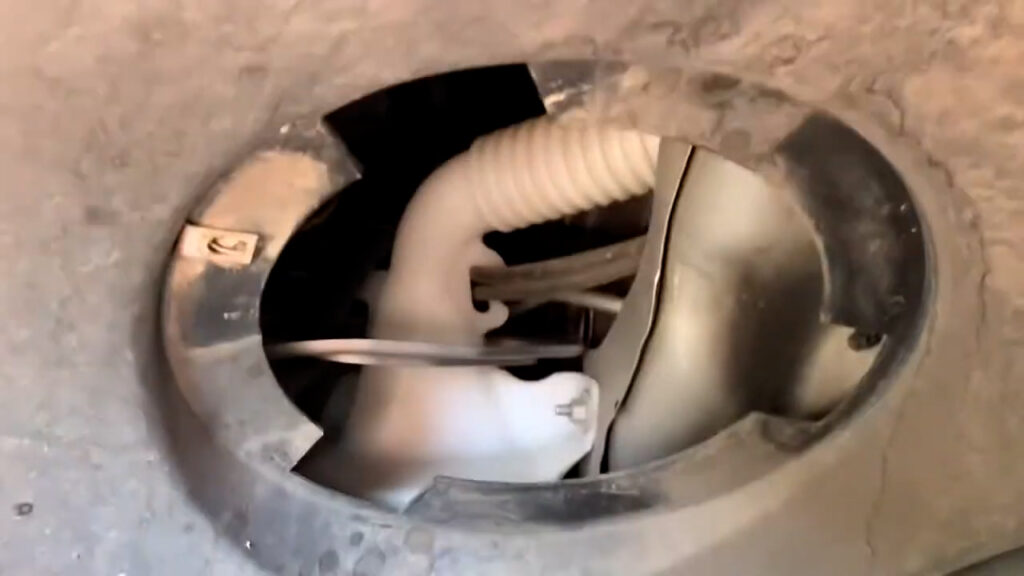
After you have removed the access cover you will now remove the cover to the headlight. It is a round piece of plastic with another plastic piece pointing down. Grab that circle cover and turn it counter clock wise to remove. Remember that plastic pieces points down when in the locked position which will come in handy when putting it back in place.
Remove the cover.
Remove the cover for the headlight
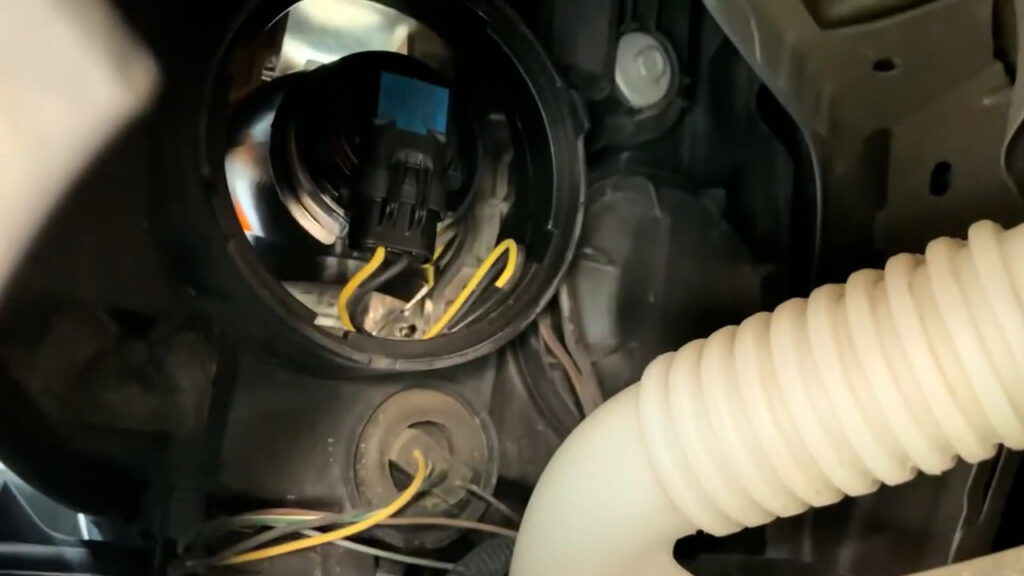
Now that the cover is removed you can see the back of the headlight. As you can see the blue sticker is the back of the bulb and the wires running into the connector.
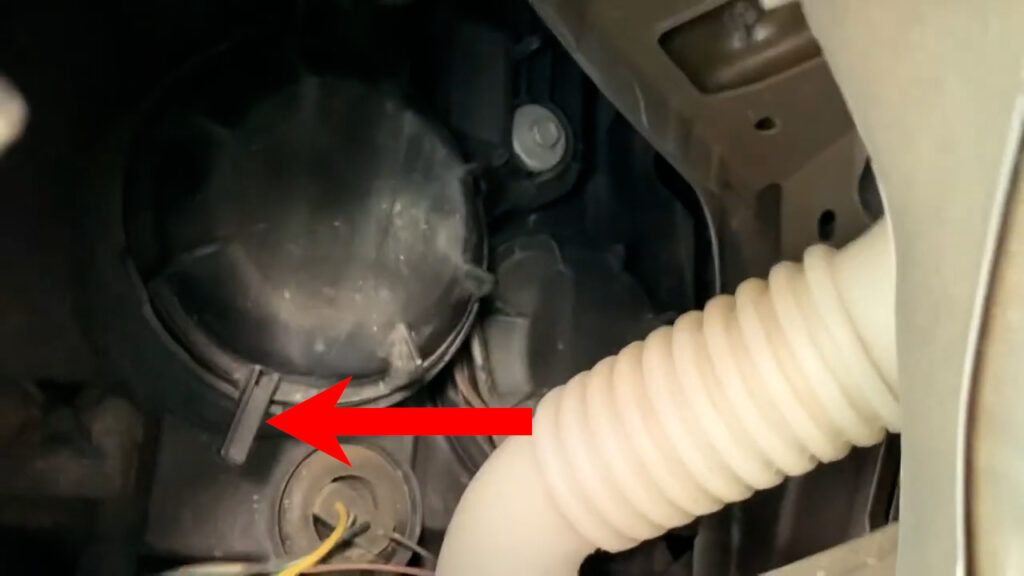
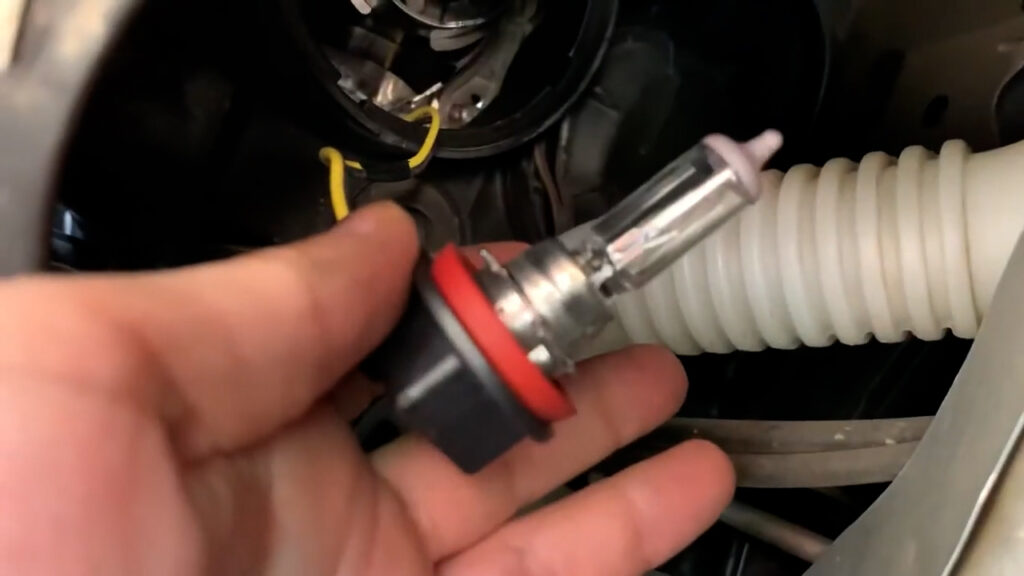
Next you will need to remove the old bulb to replace it with a new one.
The bulb takes a quarter turn counter clockwise to remove it.
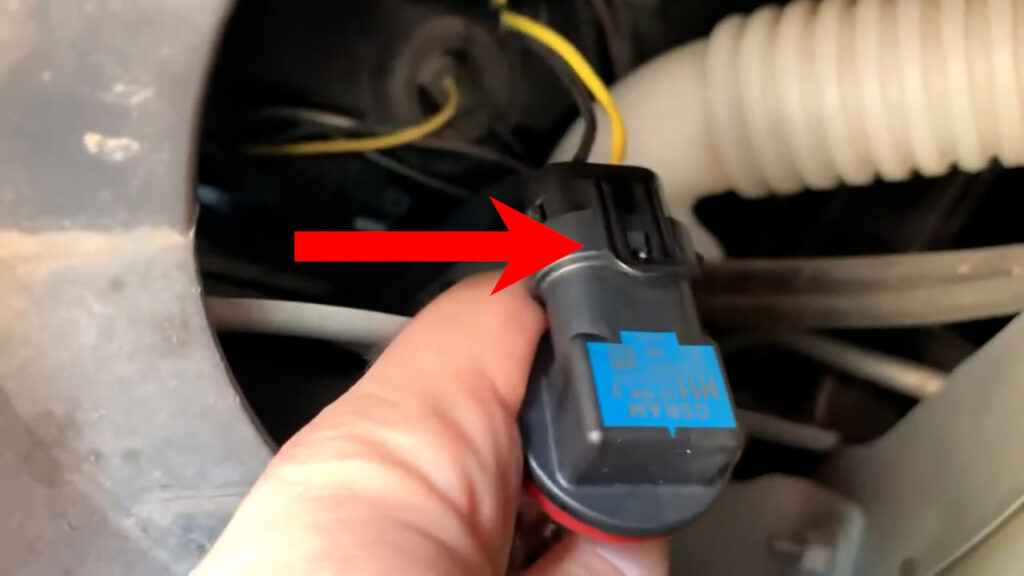
Now that the headlight is removed unclip the connector on the back. There is a small clip that you release to remove the old bulb.
Finally you will remove the old bulb and insert the new one.
Then you will repeat the steps in reverse order to put everything back together.
That’s it! If you like DIY projects please check out this one on how to paint old laminate cabinets: