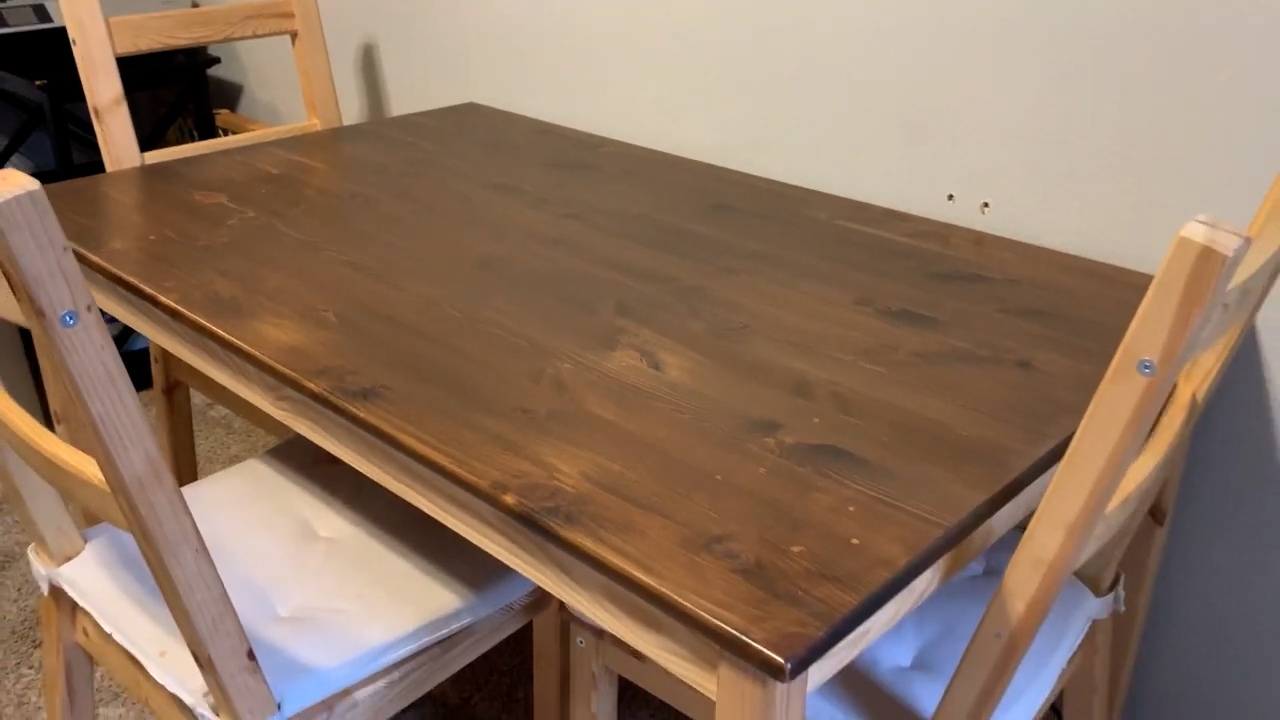
Here you will learn how to stain a wood table. The process is very simple and can be done in a couple days or over a weekend. I will post links to any supplies to easily find online.
Process of staining a table
The general process is very simple. Prep the table for the stain by cleaning and sanding if necessary. Then you apply wood conditioner followed by stain and sealer.
In this example I will be using an unfinished table from IKEA.
How to stain a wood table video step-by-step directions
How to stain a wood table step-by-step directions
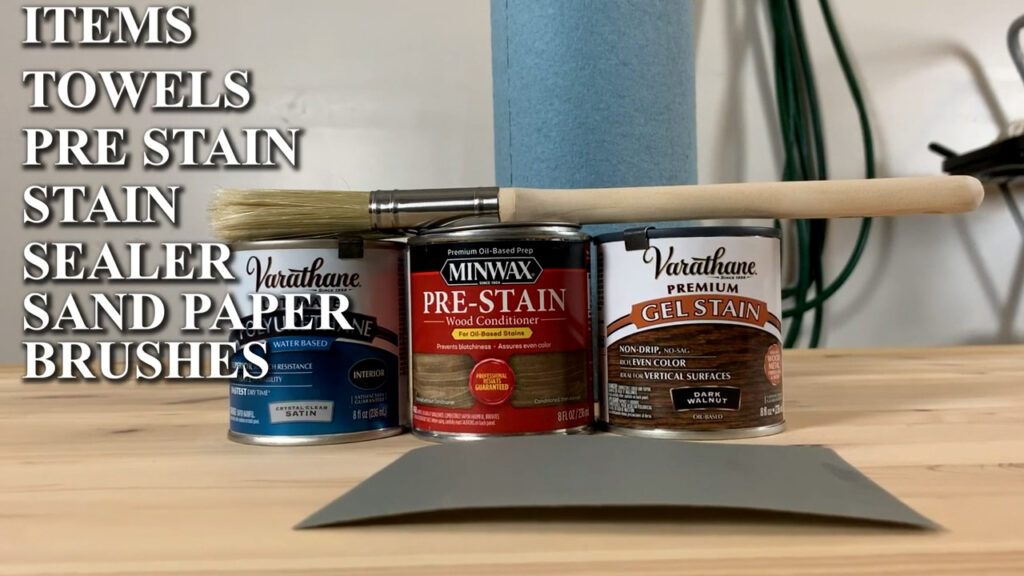
Supplies needed to stain a table
As an Amazon Associate I earn from qualified purchases.
Wood Conditioner – (Paid Link) (Pre-Stain)
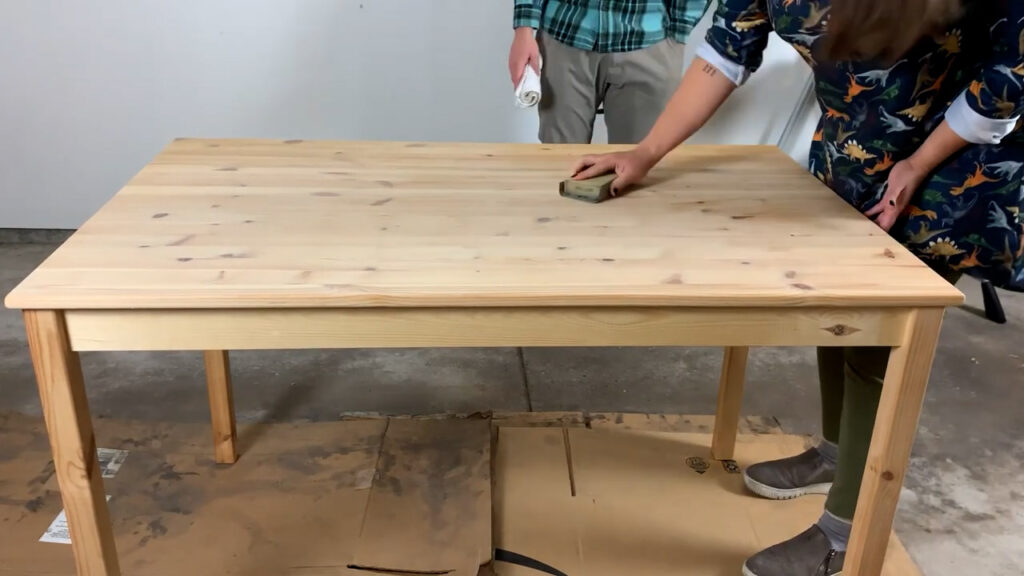
Step 1 Sand & Clean
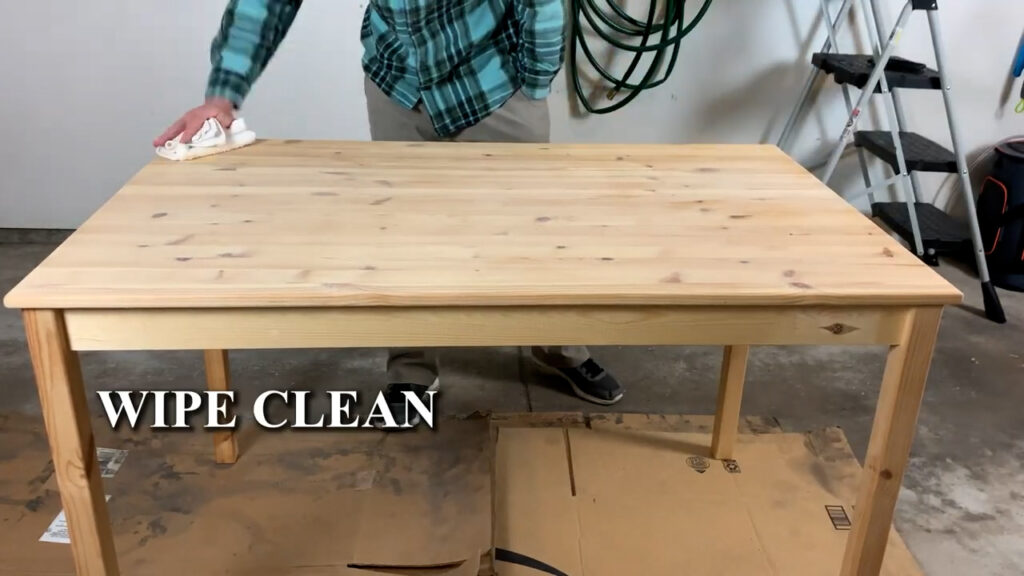
Sand and clean your wood table as needed before applying and conditioner or stain. This will give the the best surface to start with and will help ensure a nice smooth finish. Using a 220 or finer grit sand paper lightly sand the table. Once the table is smooth, clean the dust off completely for a clean surface ready for the wood conditioner.
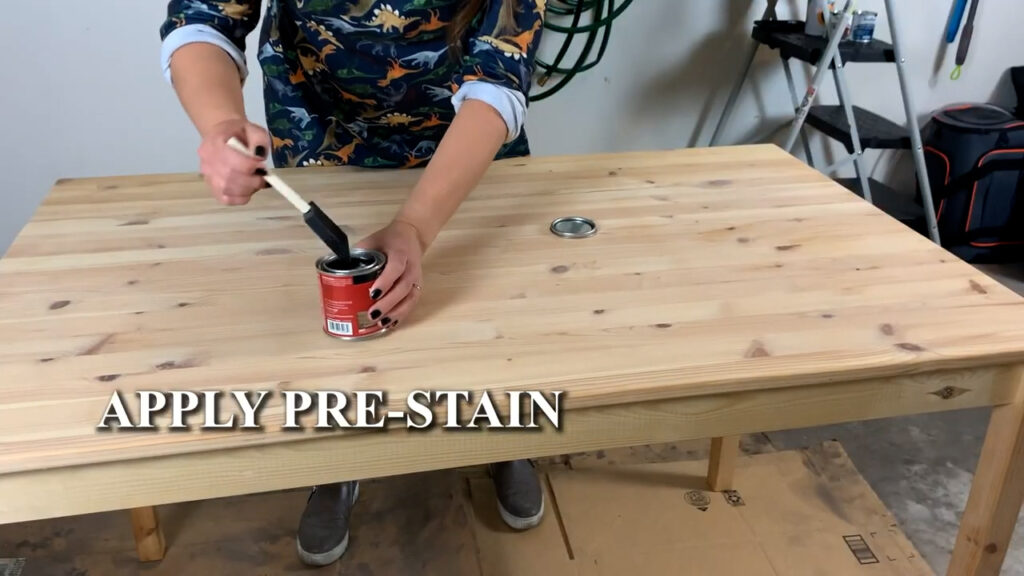
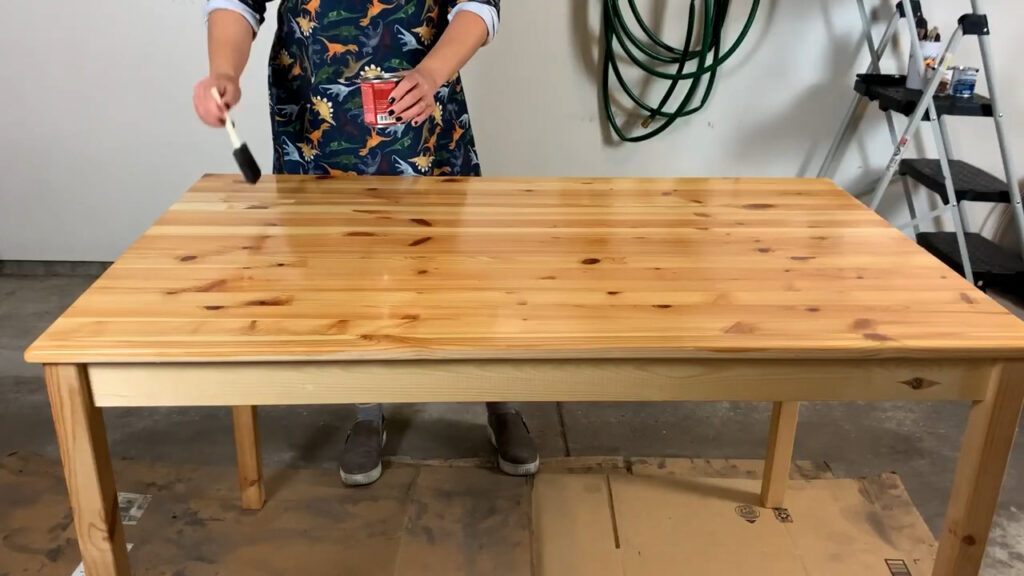
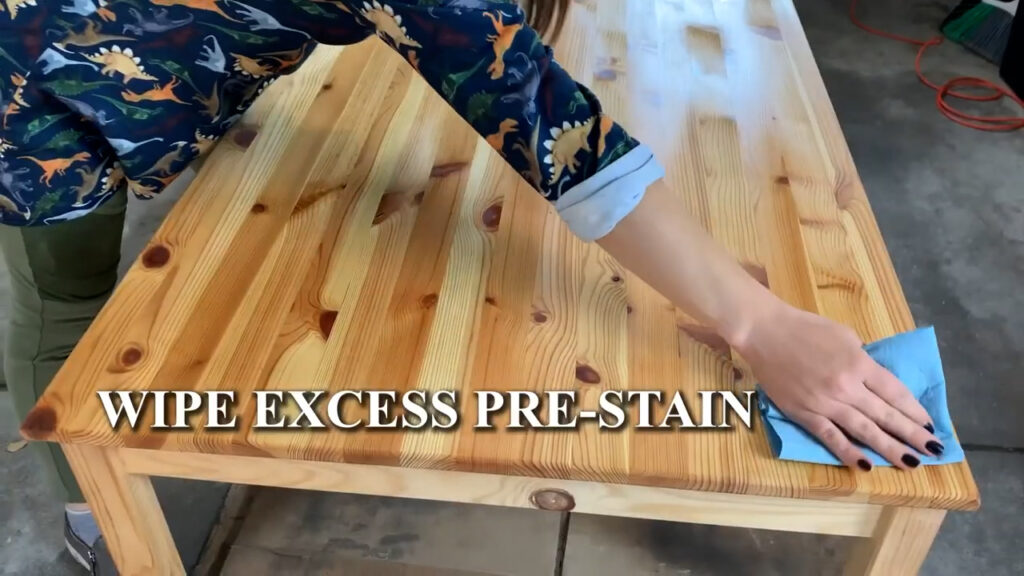
Apply the pre-stain also known as wood conditioner
After your table is smooth, clean and dry you will apply the pre-stain or wood conditioner. This will help ensure the wood stain soaks in evenly to avoid any streaks or blotching for oil based stain/paint. Apply an even coat over the table where you will be applying stain and remove any excess conditioner with a paper towel. Wait 10-15 minutes before applying wood stain.
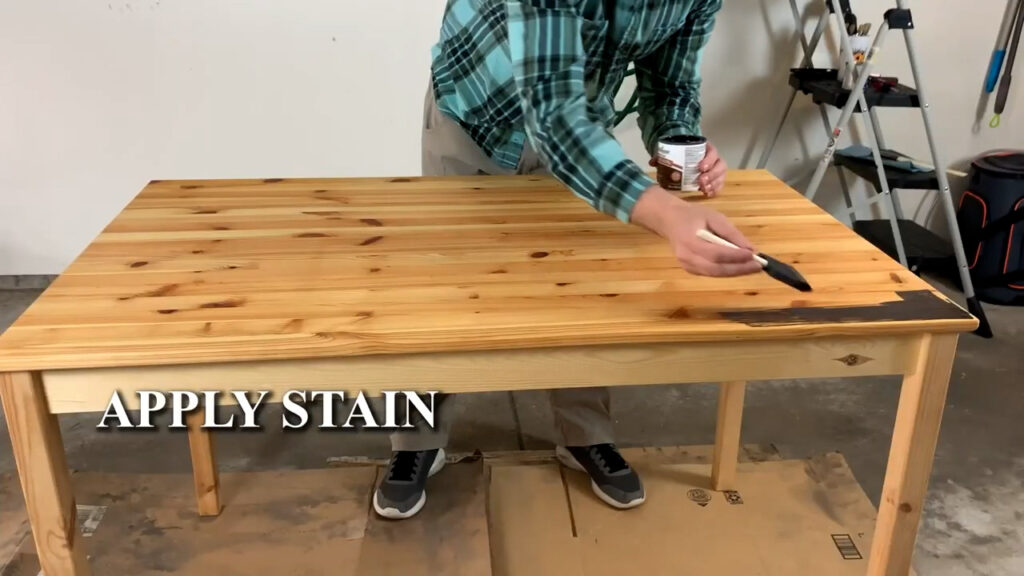
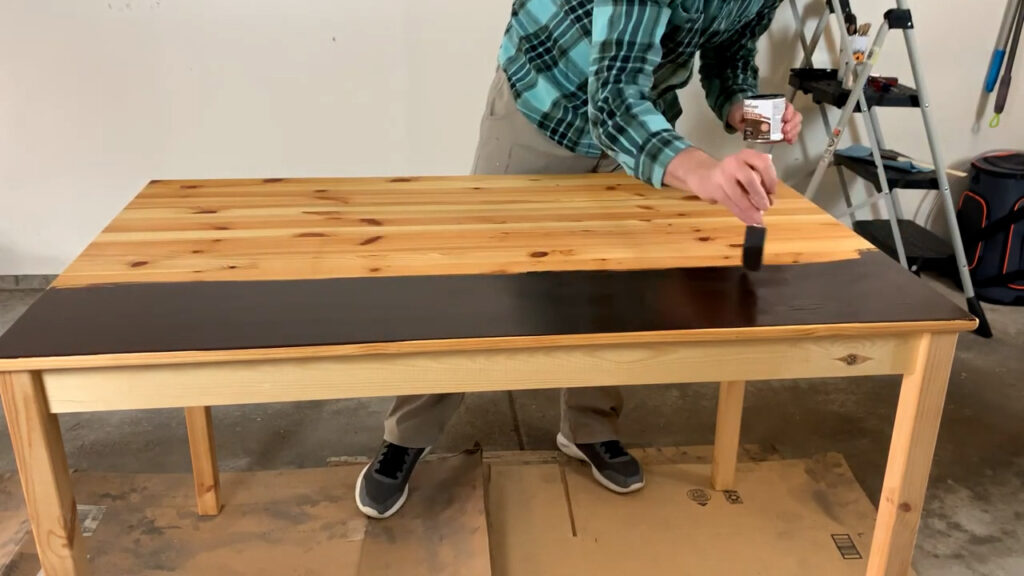
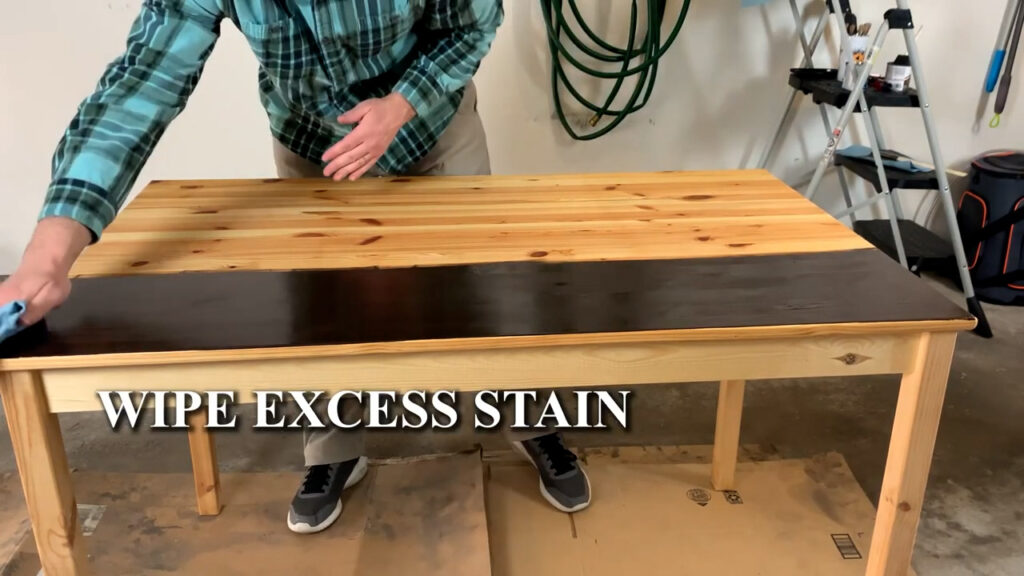
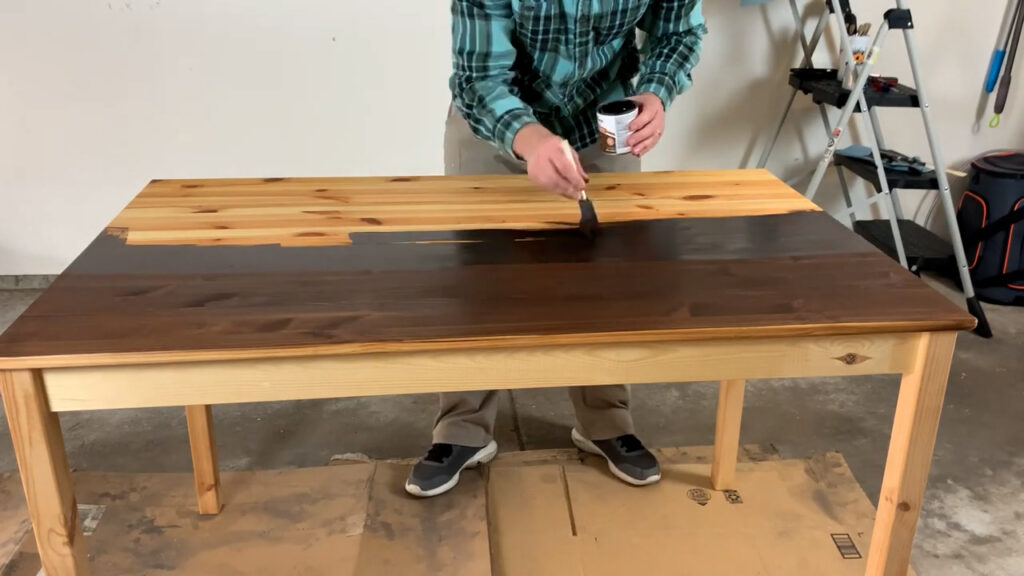
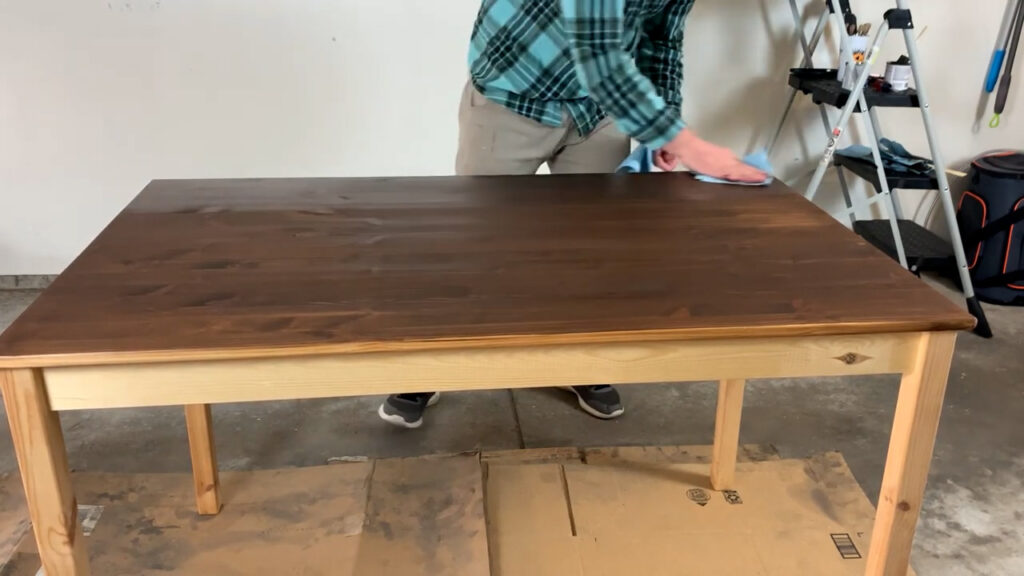
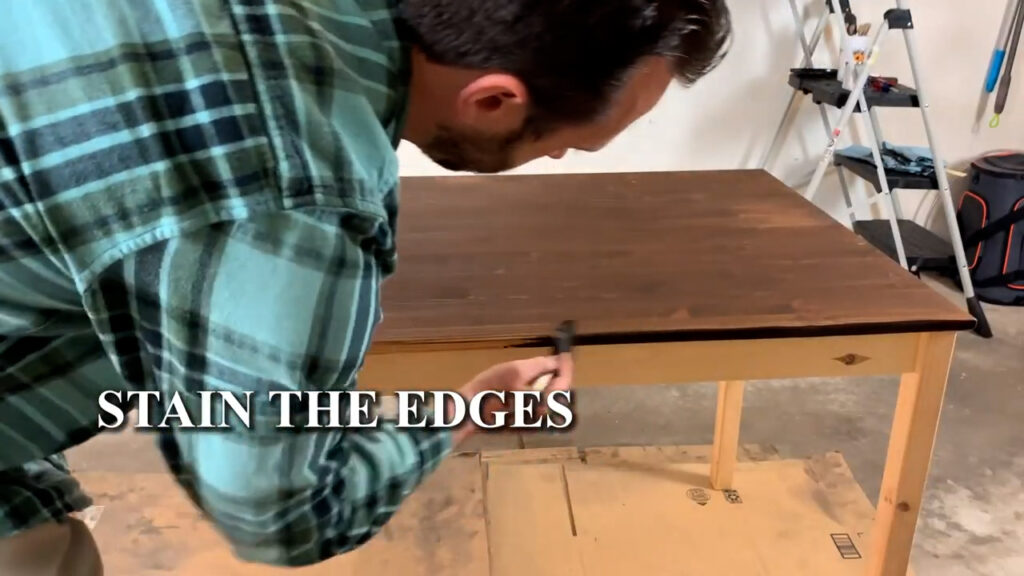
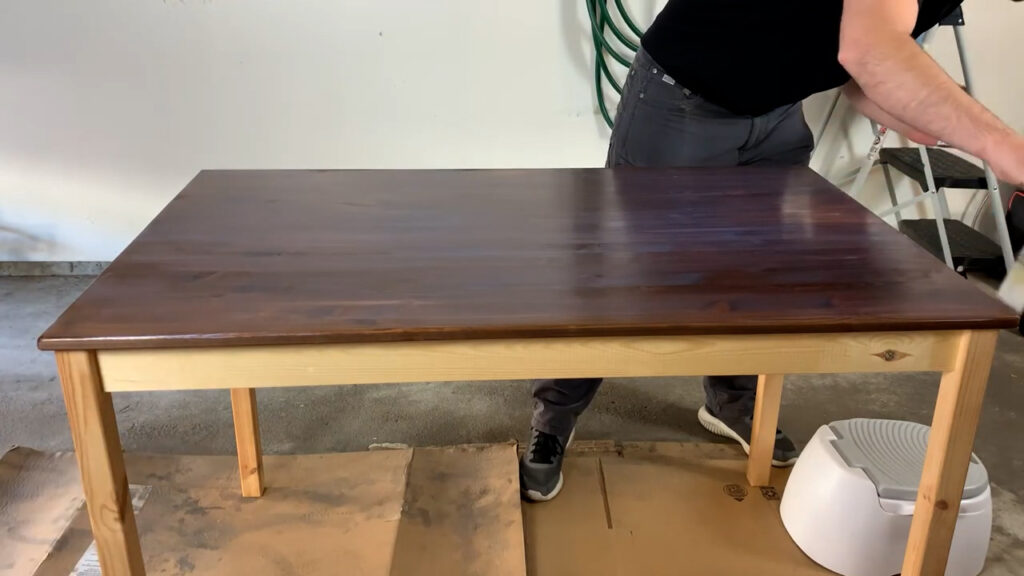
Staining the wood
Now it’s time to add the wood stain to the table. Using a brush and paper towels you will apply the wood stain in sections. Apply the wood stain in sections then wipe the stain off with a paper towel. When applying the stain and removing with a paper towel you will want to brush and wipe in the same direction as the wood grain.
*IMPORTANT NOTE – Cleaning Oil Based Paint Or Stain off Skin
To clean oil based paint off skin you will need to use another oil based product. Olive oil usually does the trick. Check out this blog for more useful information about washing oil based paints off skin: https://refreshliving.us/the-natural-way-to-remove-oil-based/
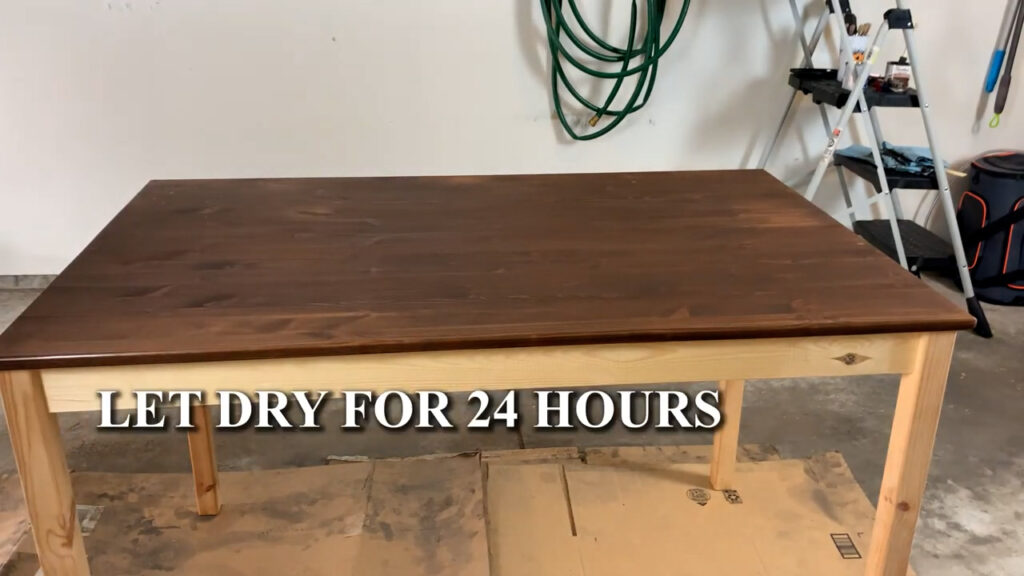
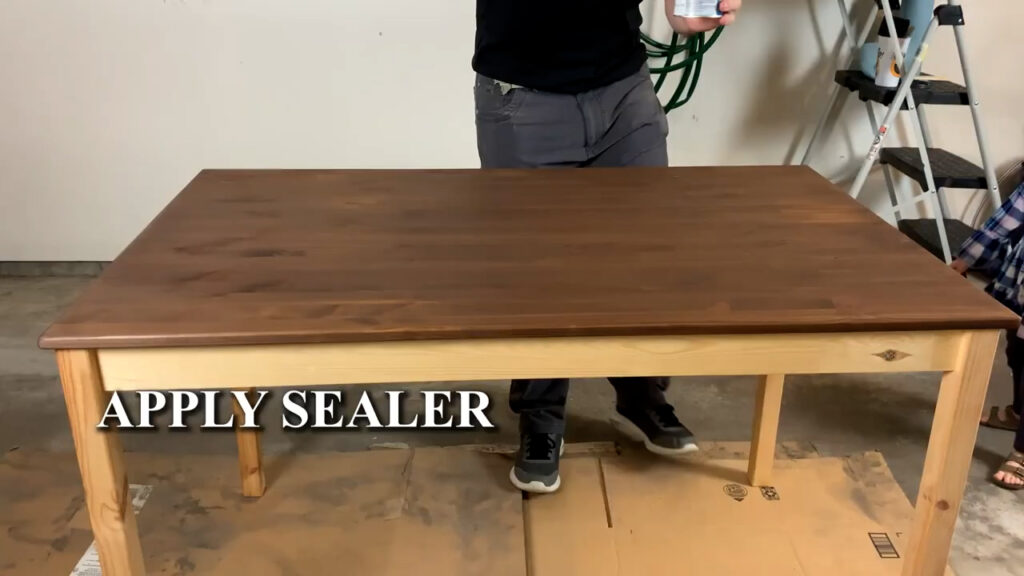
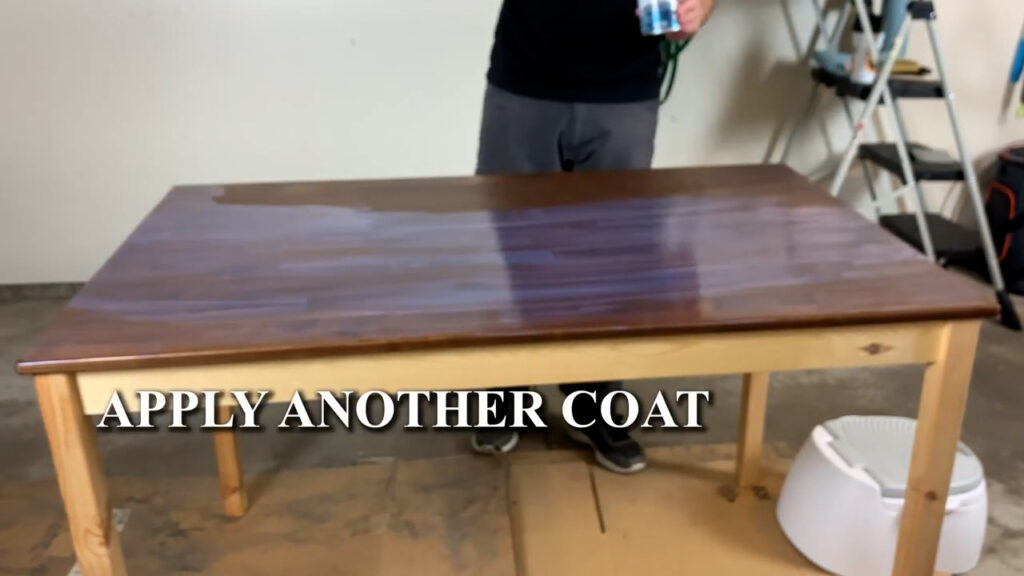
Applying the sealer to the table top
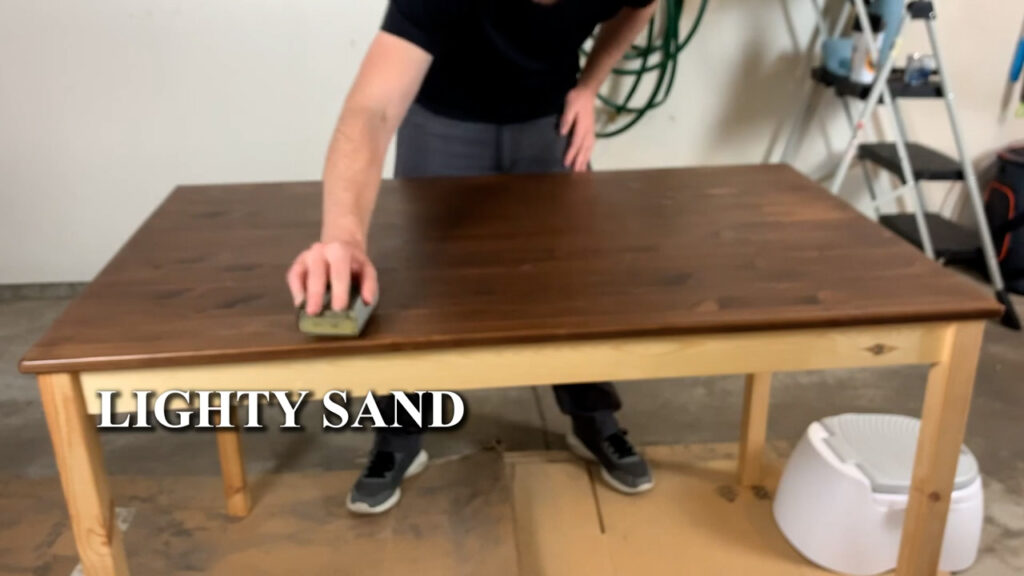
After allowing the wood stain to dry for 24 hours its time to apply the sealer. I recommend at least 3 coats for a table that gets average traffic. If your table is used more you can add a few more layers for extra protection. After the first coat is added and dry you will need to sand it down for a smooth finish. All subsequent coats will not require any sanding. The sealer will go on with a white color but will dry clear. Wait at least 3 hours between coats and a full 24 hours after the final coat before using the table.
After the first coat is completely dry you will need to lightly sand to remove and bubbles and roughness. This will only need to be done after the first coat. All other coats will be smooth after the first coat. Use a fine sand paper such as 220 or more.
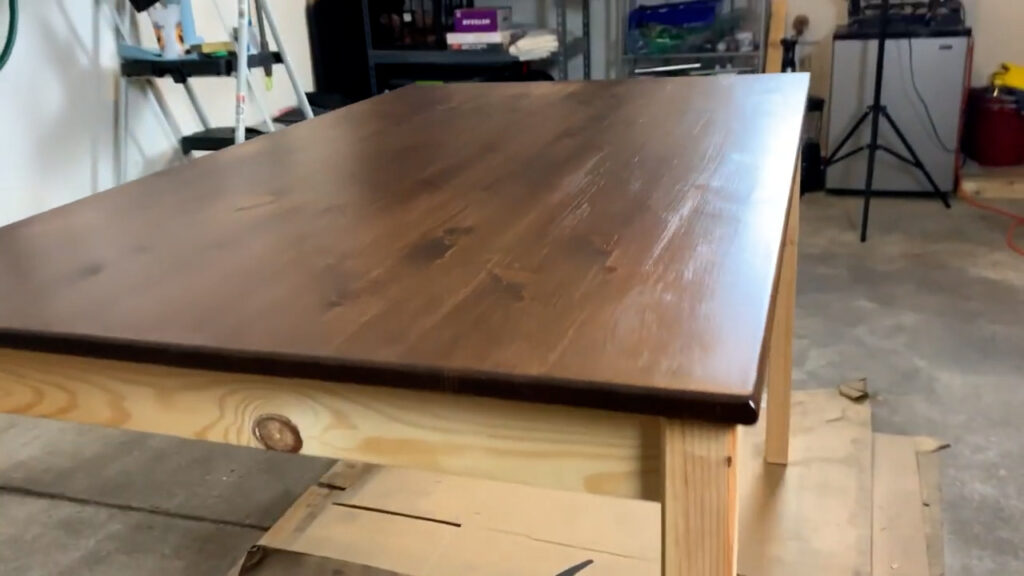
That’s it! After you add the desired amount of finish coats to your table you will wait another 24 hours for it to completely dry.

If you like DIY projects check out some of the other videos here such as how to paint laminate cabinets.